This post marks an exciting milestone for me. It’s my first painting time-lapse video! So glad to be able to capture the whole process of my paintings and share them in an easy to consume format. I think it really shows how my paintings develop over the course of several painting sessions.
I shot this first video on my iPhone using an adjustable desk arm to hold it in place while I painted. It’s far from perfect but it got the job done and I’m looking forward to improving my production quality over time. I was able to capture over 7 hours of footage, get it all into Adobe Premiere Pro, and then edit it down to about 2 minutes.
Hope you enjoy it!
The Time-Lapse Process Video
What You’re Seeing in this Video
- Start to 0:27: Blocking in Stage
- This stage is the foundation of the painting. It provides the basic visual information of the overall shapes, value, and color.
- This stage is the foundation of the painting. It provides the basic visual information of the overall shapes, value, and color.
- 0:27 to 0:59: Adding Details Stage.
- In this stage the focus is building upon the base values from stage one. Adding in midtones, focusing on texture, and setting up areas for fine details are all examples of what happens in this stage.
- In this stage the focus is building upon the base values from stage one. Adding in midtones, focusing on texture, and setting up areas for fine details are all examples of what happens in this stage.
- 0:59 to end: Final Touches Stage.
- This stage is pretty self explanatory. It’s when the finishing touches are added to complete the painting. Adding the highlights in the eyes and painting individual hairs are examples of final touches.
Reference Photos
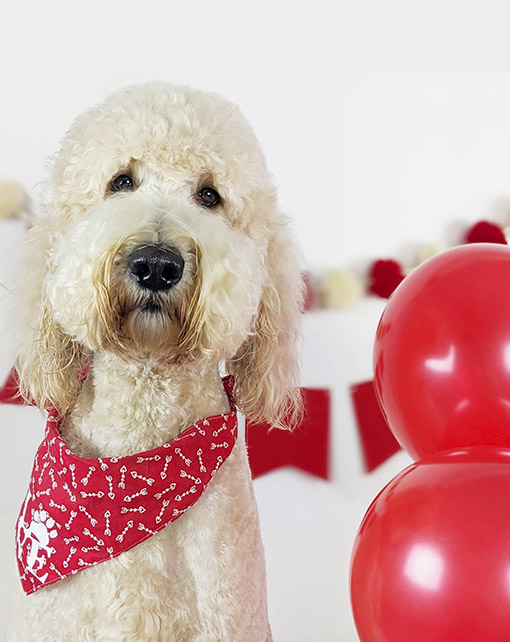
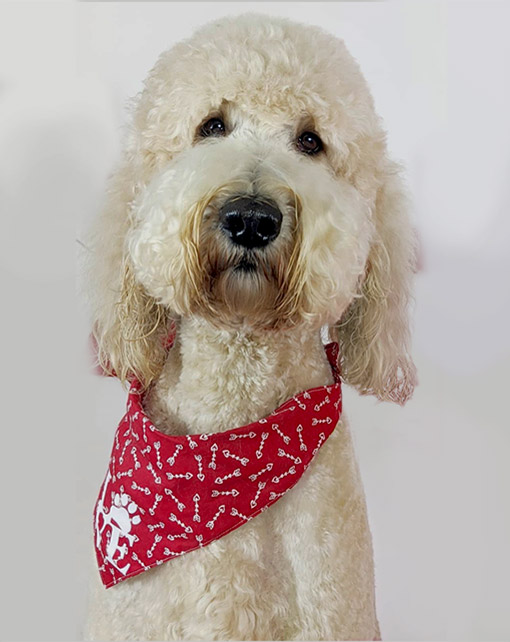
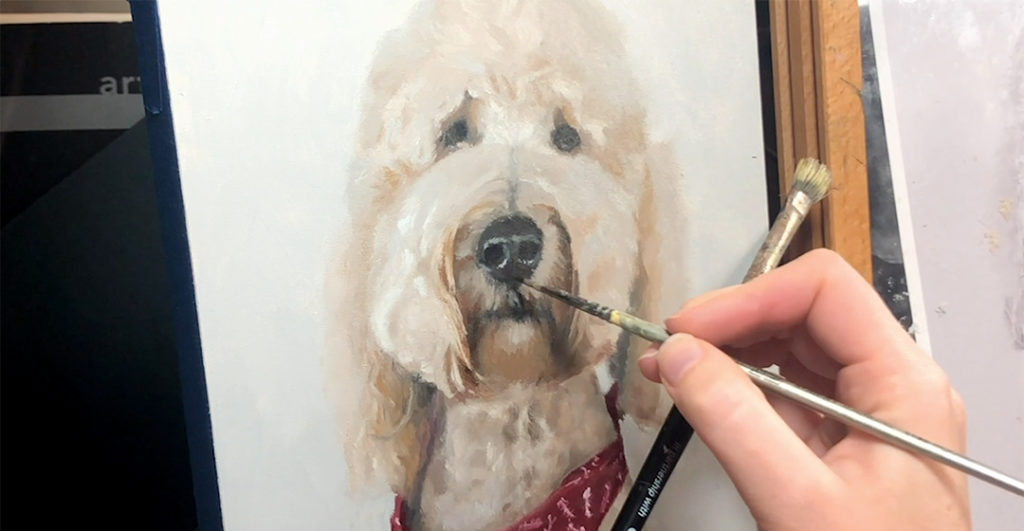
The beginning of every pet portrait starts with editing the reference photo. You can see the differences in the photos above how much I change. There are obvious changes like cropping out the balloons and erasing the busy background decorations. But there’s also more subtle changes like removing the reflective red light from chiefs leg. Since the balloons are no longer in the picture, it makes no sense to leave that reflective color in his fur.
Painting Progress
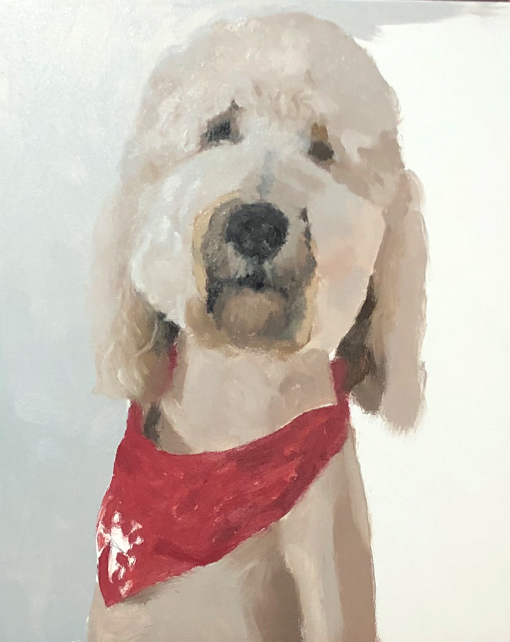
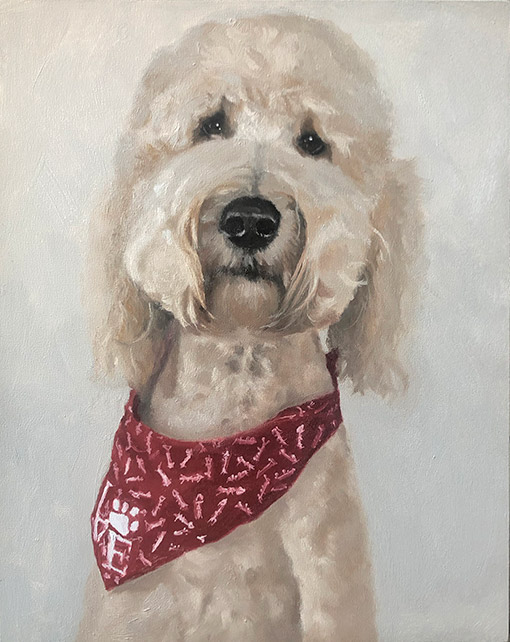
In this progress photo you’re seeing the transition from the block in phase into the details phase. Midtones have been added to parts of the head and expressive brushstrokes start emulating the texture of fur. The handkerchief is a great example of how the blocked in phase informs the more detailed stage of the painting. In the progress picture there are blocks of darker reds that later on evolve into the folds of the fabric. A more detailed photo of the finished painting can be seen here.
Want More Painting Progress Videos & Posts?
As I continue to practice, take new commissions, and even paint my own original work I plan to document as much of it as possible with new blog posts and videos. If you enjoyed this post I’d love to hear about it in the comments below, but just as importantly I hope you’ll subscribe to my YouTube Channel and join my Email Newsletter to keep up with new content and important updates from The Norquist Studio.

0 Comments